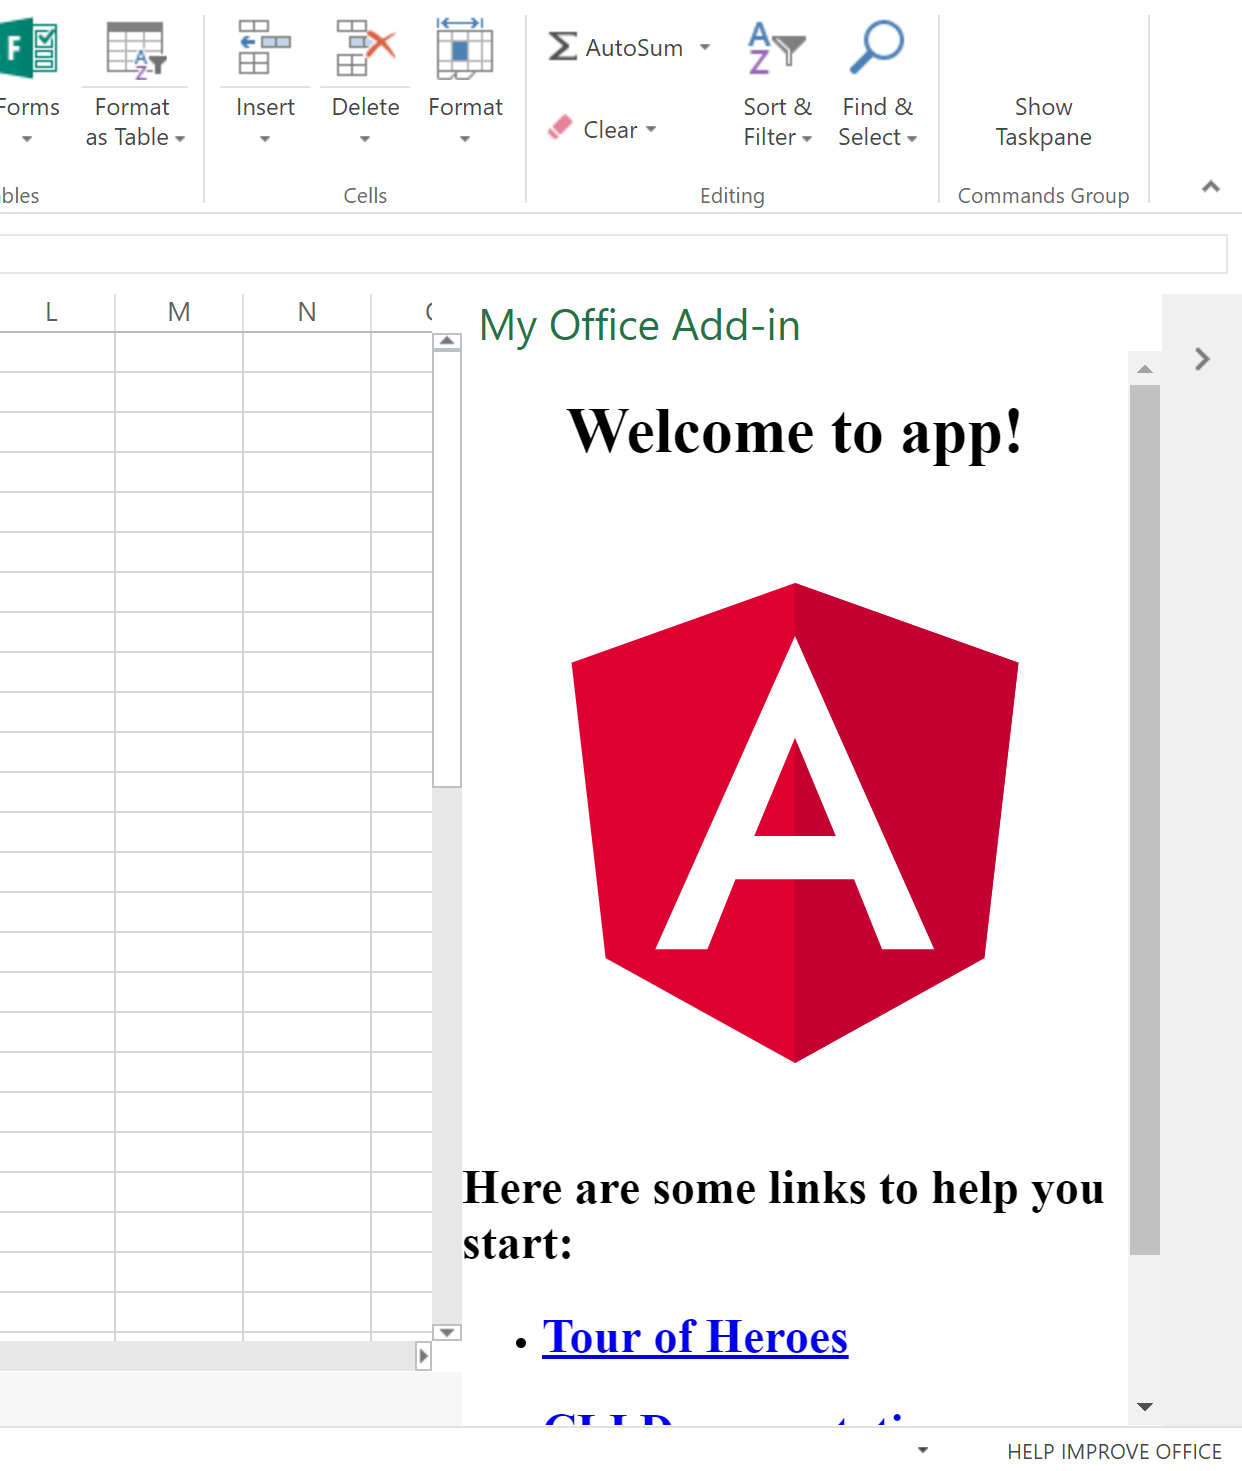
Using the Angular CLI and the Yeoman Generator to create an Office Add-in
UPDATE: Since this was written the office generator has been updated and does not work in the same way as below, specifically that it no longer asks to create a subfolder (for you to refuse) and does it anyway. If a folder already exists then it will fail and the instructions below are now useless. Although you can still do this manually it is no longer as simple. I am a big fan of the Angular CLI, it is just so easy to scaffold an Angular application from scratch, and get up and going quickly. But when creating an Office Add-in, the scaffolding tool of choice is Yeoman and the office generator. Below lists out how to use both to create an Office Add-in quickly. First up, you need to ensure the following are installed:
Then, create an app using the Angular CLI
|
This will create a standard Angular App, but not install the npm packages (hence the addition of --skip-install to the command), we will wait till later to do this. The important bit here is the Angular CLI initialises a Git repository and does a commit. If you run --skip-git you will need to ensure this newly created directory is part of a repository and you commit the changes. Next up, navigate to the project folder and get the yeoman Office generator to do its thing
|
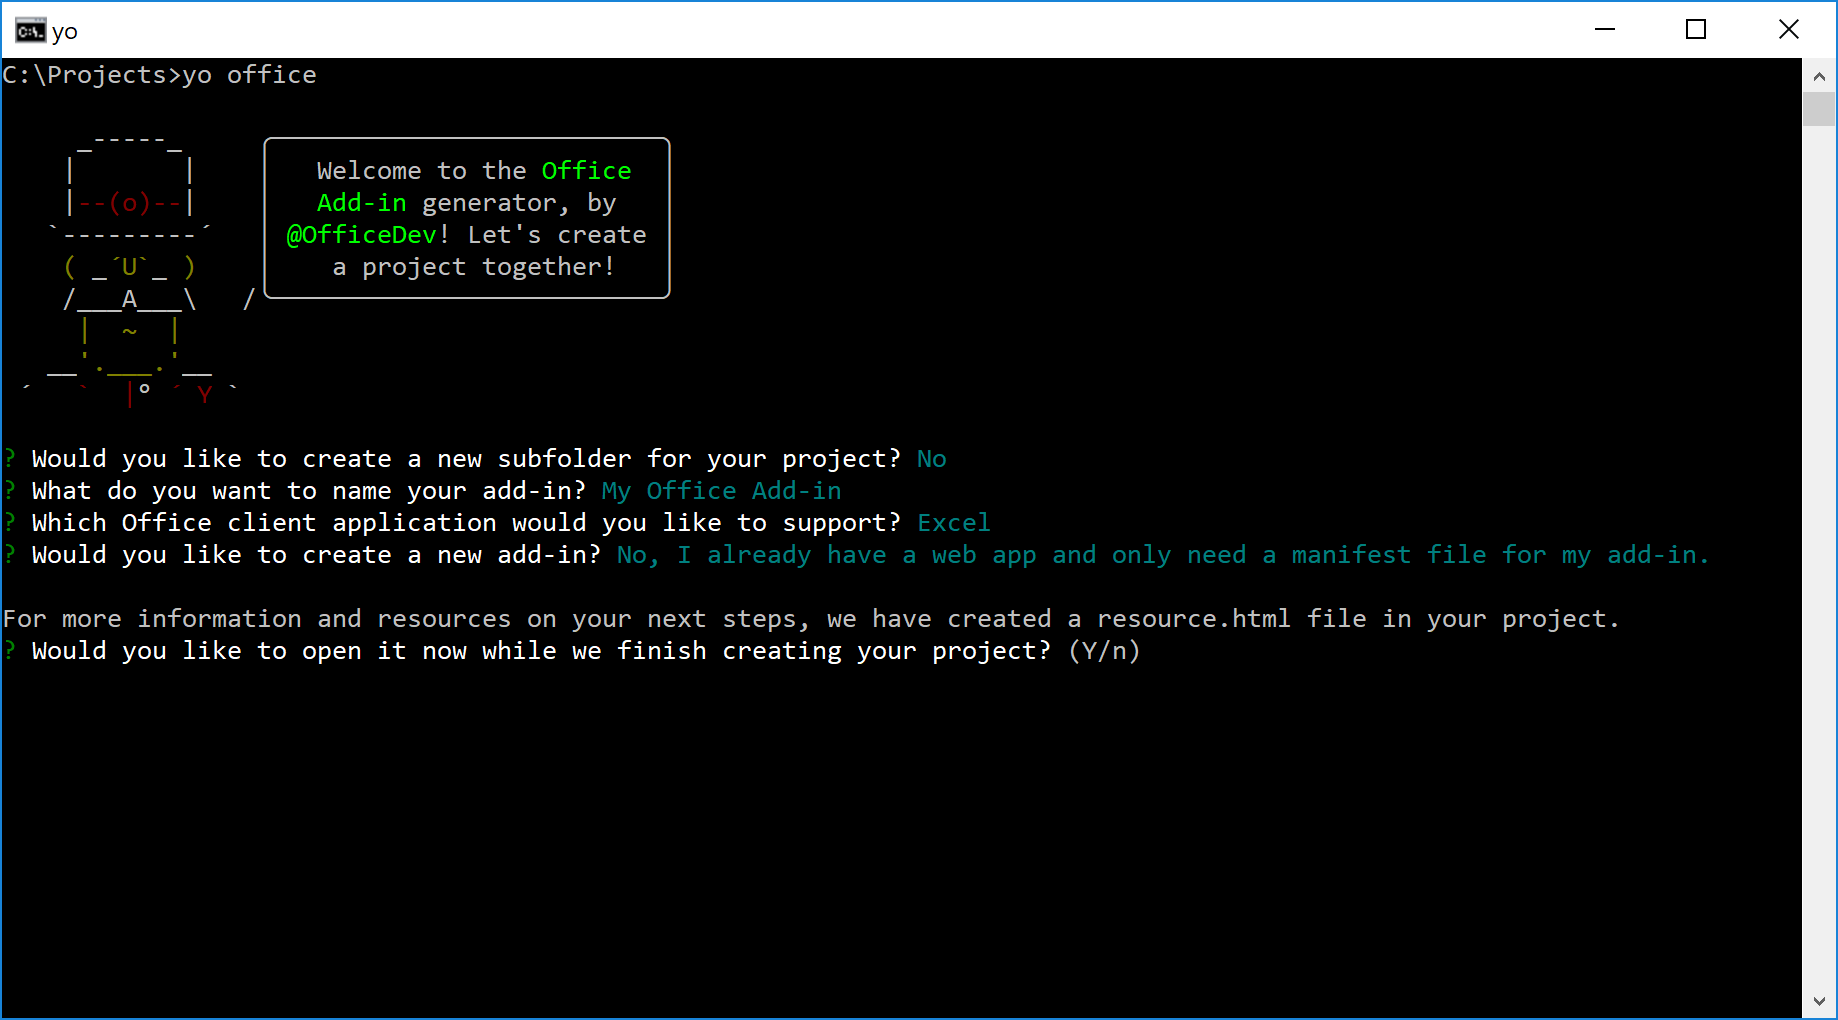
You will be asked a bunch of questions, and the most important answers are:
- Would you like to create a new subfolder for your project? No
- Would you like to create a new add-in? No, I already have a web app and only need a manifest file for my add-in.

You can name it whatever you like, and also make the add-in for whatever Office client application, but the two above are the options you answer No to. The generator will then point out that a conflict in the packages.json; this is because the generator has a different opinion to the Angular CLI on what npm packages you need. Choose to Overwrite and go with what the Office generator wants. The generator will run npm install, cancel it, we aren’t ready for that kind of commitment yet. Now the reason why I was so adamant about having you commit your changes after installing the CLI app, is that there is now a diff on the packages.json.
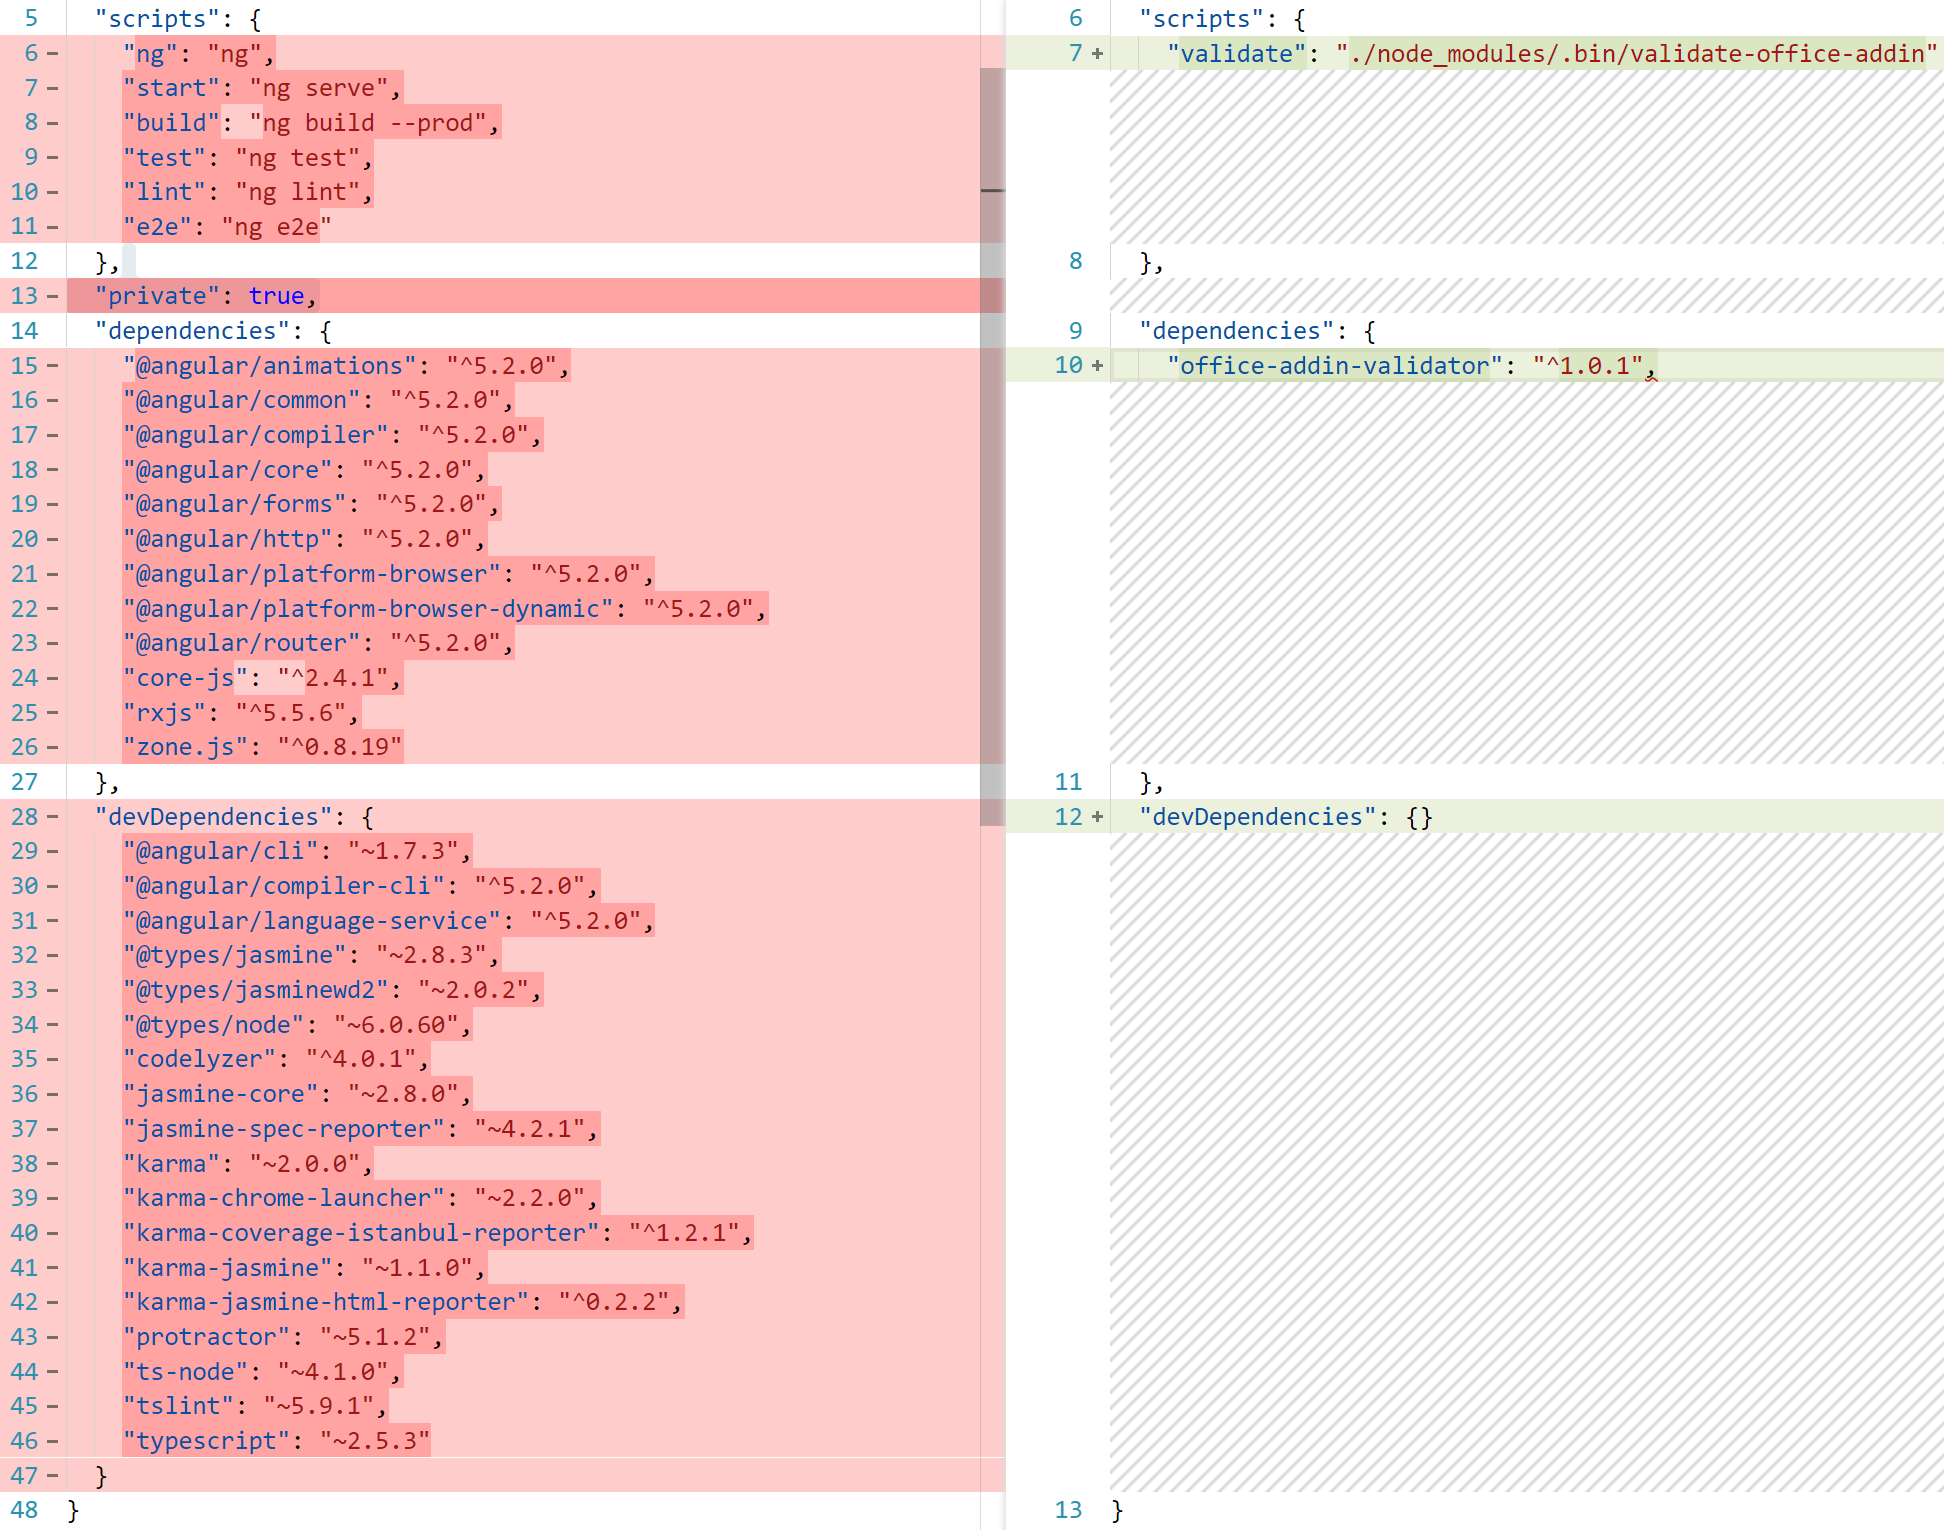
These changes need to be copied back, but without removing the changes made by the Office Generator.
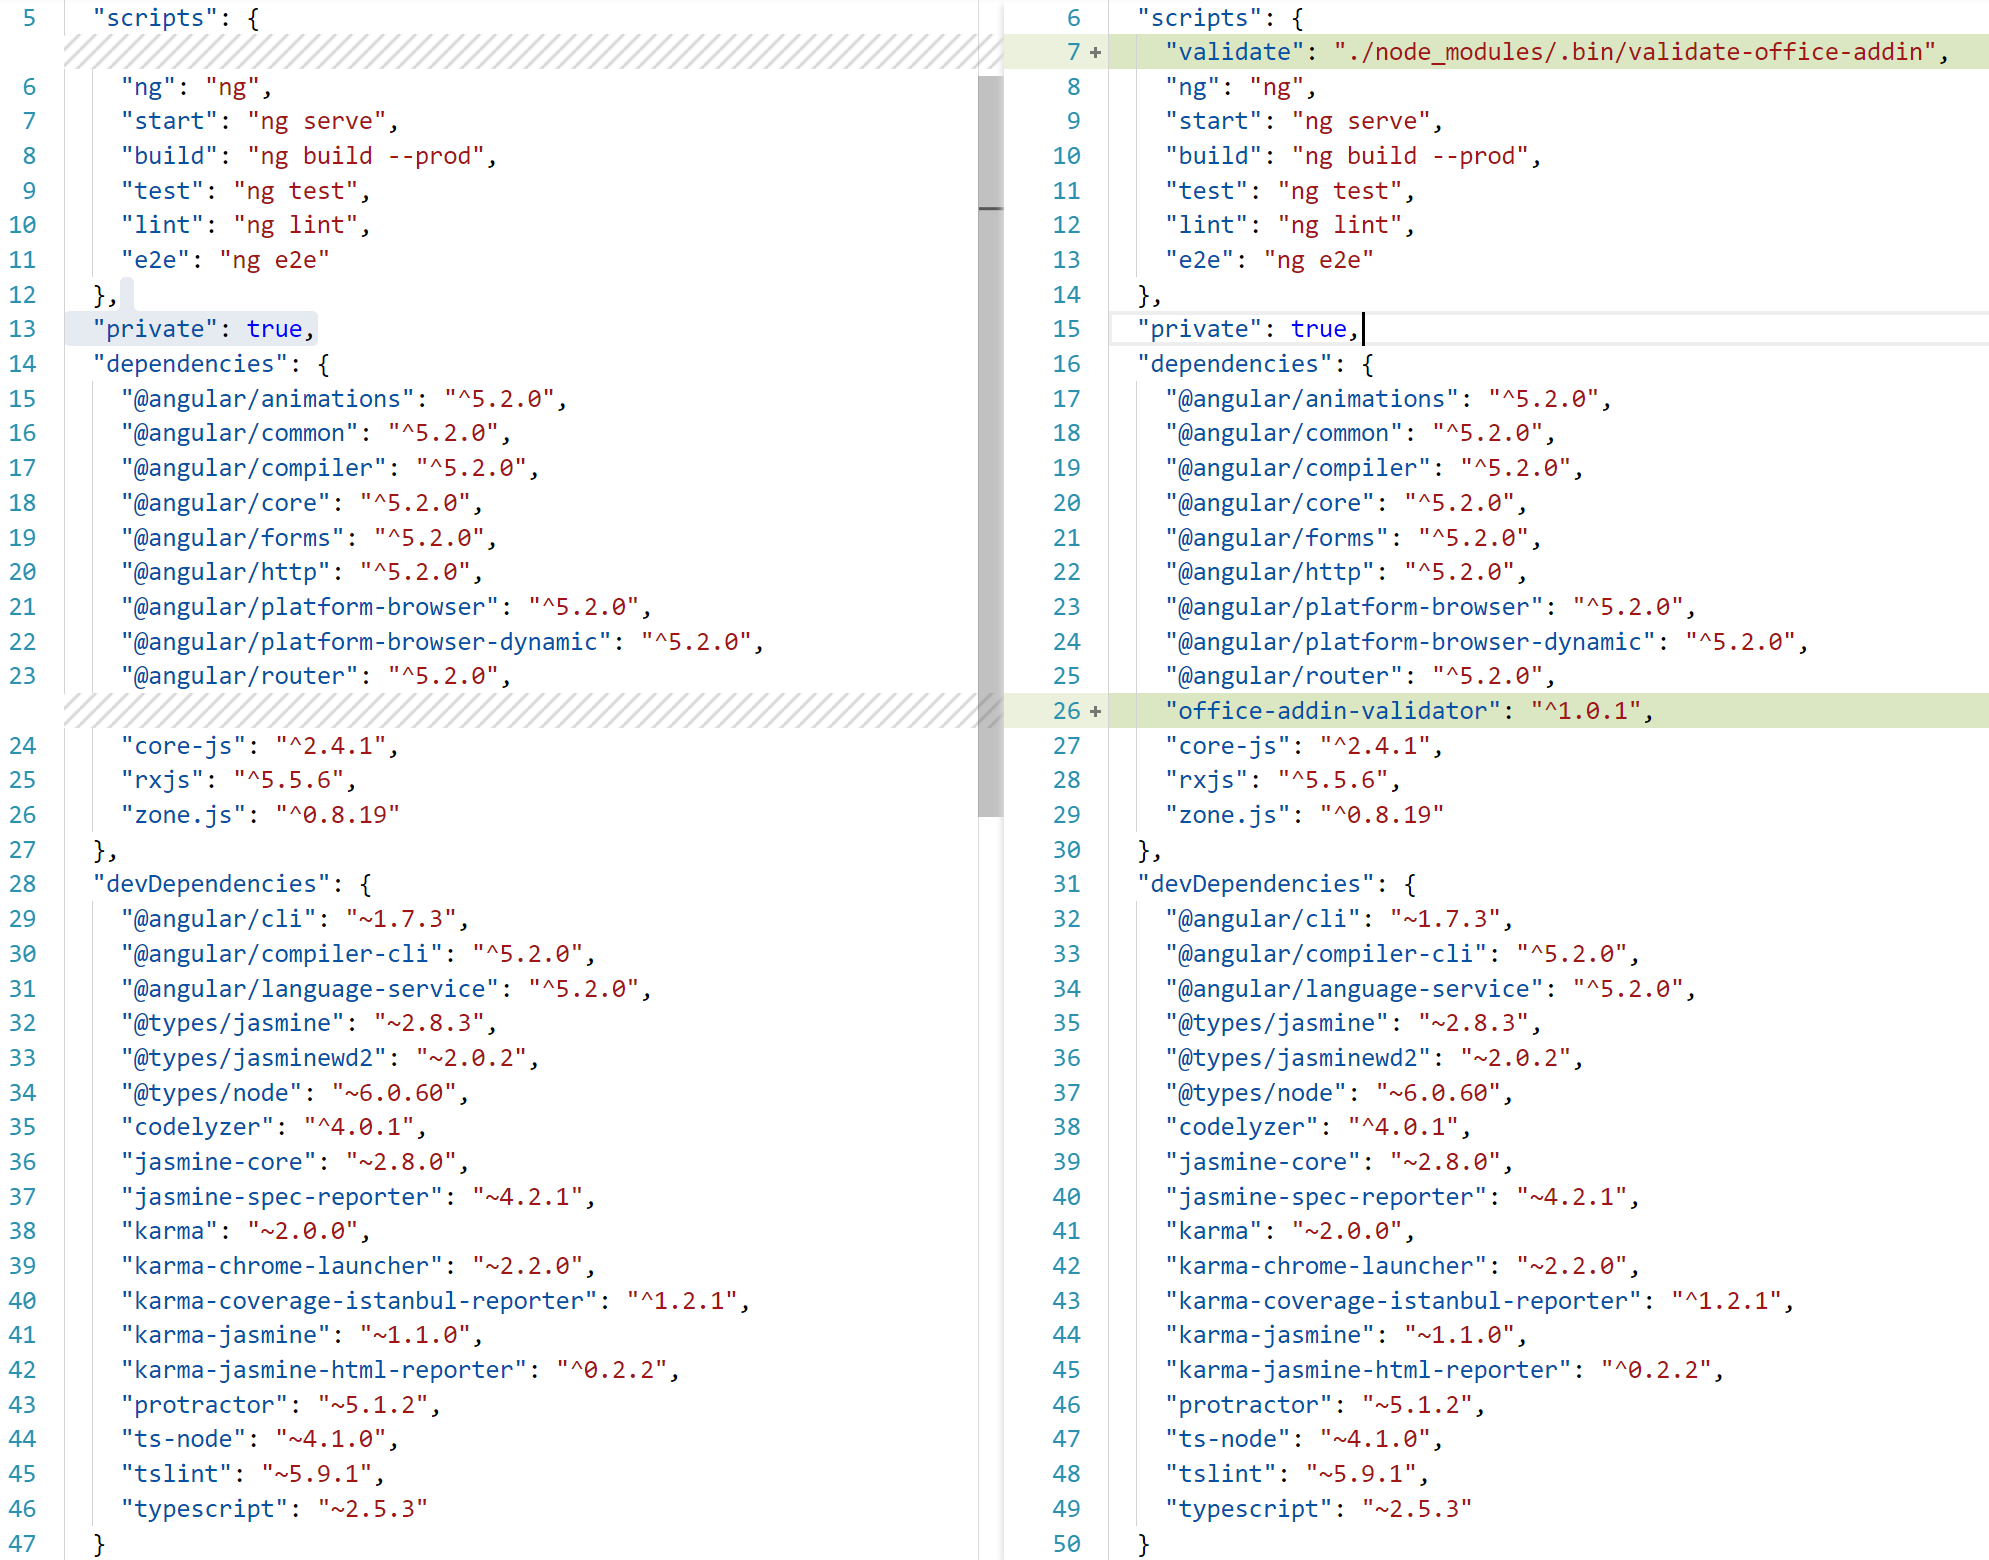
Now we need to reference Office.js in the Angular App. There are two files that need adjusting:
- /src/index.html
- /src/main.ts
In the head of your index.html, add in a reference to the JavaScript API for Office.
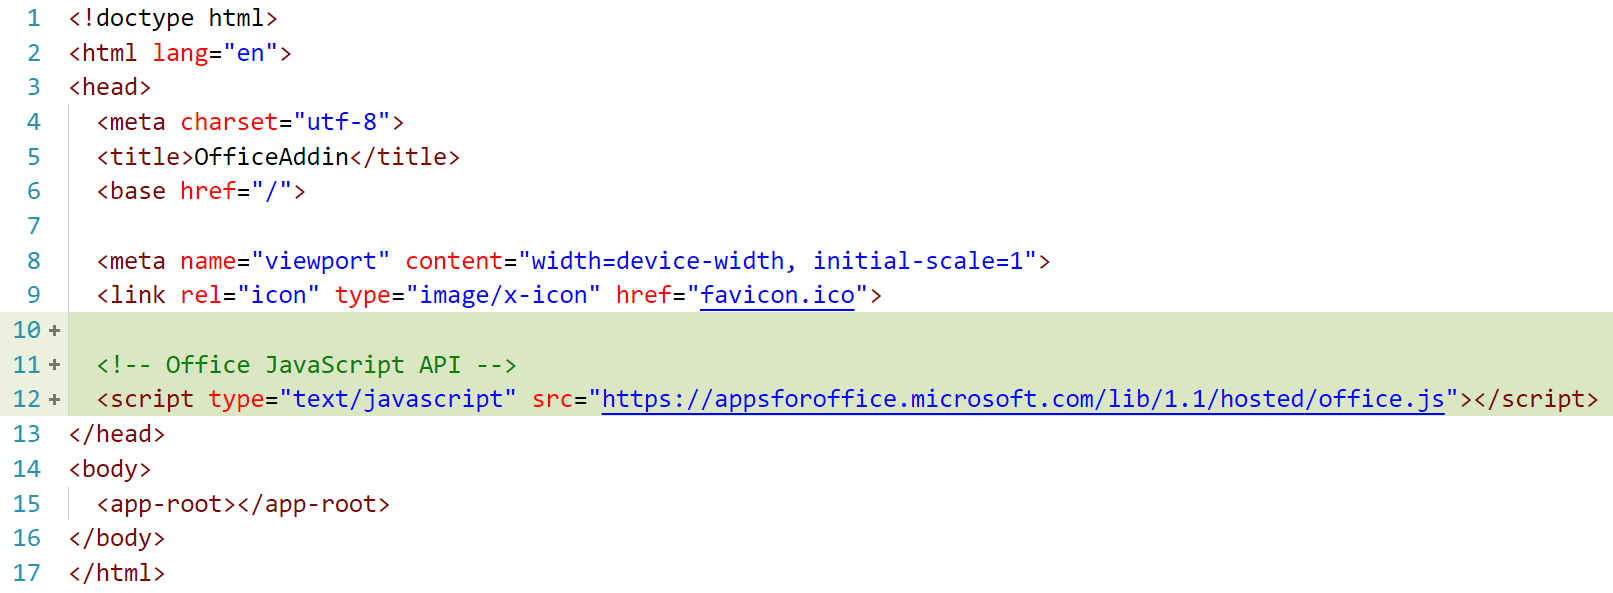
And in your main.ts, add the following wrapper to the bootstrapper.
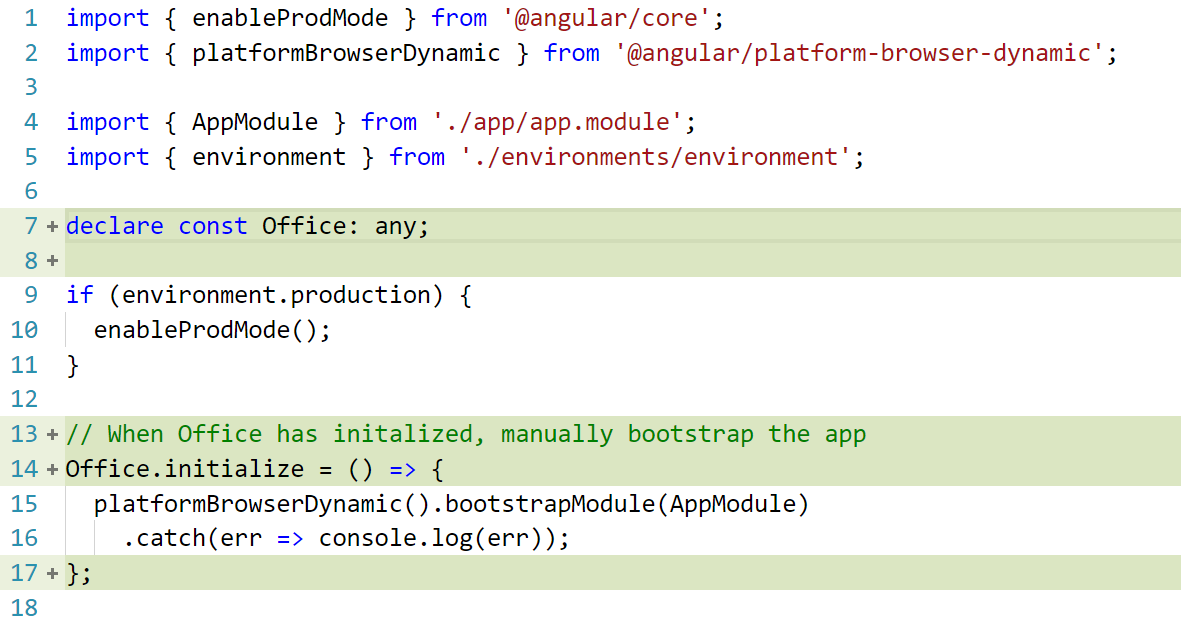 The last thing we need to do before testing is adjusting the manifest to point to the right URL. By default, the Angular CLI’s
 ng serve command serves the content locally on port 4200, but the add-in manifest points to 3000, so open up the manifest XML file and change all values of https://localhost:3000 to https://localhost:4200 Note that the CLI also serves on HTTP by default, but that needs to be changed in order to show an add-in on Office Web Apps, so let’s do that. Install browser-sync as a dev dependency. This will place SSL certificates for localhost in the node_modules folder.
|
You will then need to adjust the packages.json to run in SSL mode when serving. Change the start script from ng serve to:
|

Now, you should be good to go. Run npm start and sideload your manifest into your office application. Open the add-in and you should see the Angular goodness! 