Set up Visual Studio Code to work on your VSTS Git Repositories
All of my day-to-day projects are using Team Foundation Version Control (TFVC) repositories, but recently we have been considering using Git. This is for a few reasons, but one of the big ones is the rich functionality that is provided in Visual Studio Code. Whilst at Ignite I mentioned this to one of the VSTS team and was hit with a very passionate response saying that we should take the time to try it out.
What you’ll need
- Git for Windows
- Visual Studio Code
- The Team Services extension for VS Code
- A VSTS project with a Git repository
Step 1: Clone the repo to your computer
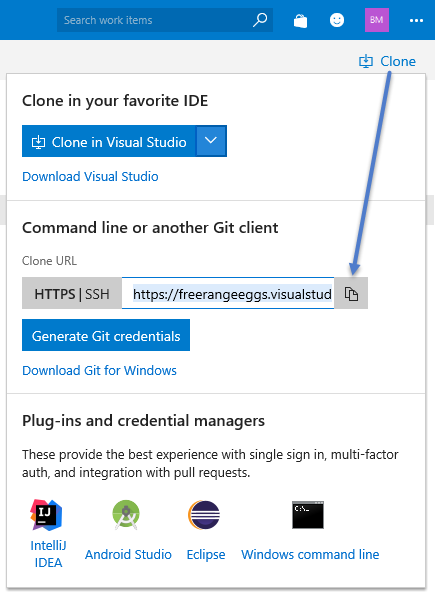
In Visual Studio Team Services, navigate to the Code > Files section of your project. You should see something like below, which is my simple Git repository, complete with just a readme file.

If you look to the right of the Files you will come across a Clone button, click it and copy the Clone URL.
Now open a command prompt and navigate to the folder you would like to put your cloned repo. Then run git clone You may be asked to authenticate with Team Services, but after you should see something like this…
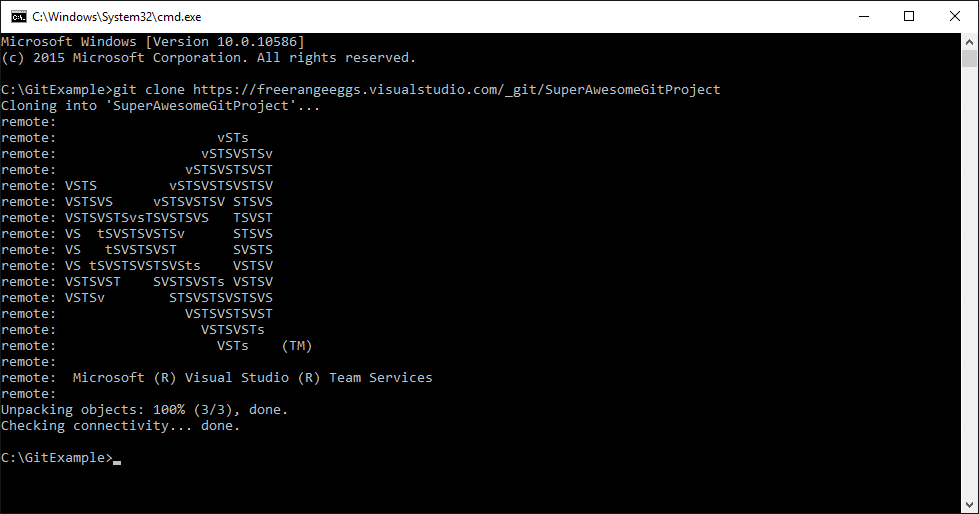
Nice work! This has put in a folder of the same name as your repo in the folder you ran the clone. Now it’s time to get into the IDE.
Step 2: Open the folder in VS Code
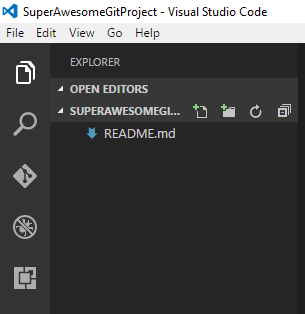
In VS Code, click on the Explorer tab (the top one - looks like some files) and then click Open Folder. Select and open the folder of the repo we just cloned. This will populate the explorer with the structure of the repo. In my case, it’s just the Readme file.
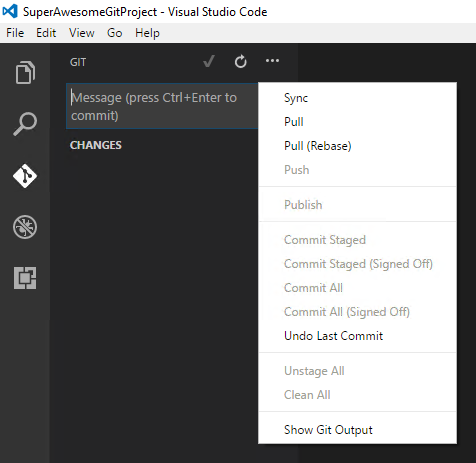
The third tab is your Git tab, allowing you the ability to commit, pull, and sync your repos. It also shows you what has changed and is yet to be committed. This all becomes active when you load a folder that is a Git repository.
You should get a message from the Team Services Extension that you are not logged-in to Team Services, let’s rectify that.
Step 3: Login to VSTS from VS Code
The Team Services extension in VS Code needs you to authenticate with VSTS with a Personal access token (PAT). Previously you needed to manually generate a token but now you can automatically get the access token and life is way easier because of it. Because I previously had noted down how to do it manually, I will have left that below, but I have slotted in how to automatically generate a token above it.
Automatic Token generation
In Code, open up the command palette (F1) and type Team Signin.

You will be asked what method you want to sign in with. Because you are someone who doesn’t like making work for themselves, select thenew experience.
 From here, you will be given a code, and asked to go to https://aka.ms/devicelogin where you will need to sign in with the credentials for the VSTS account and enter the code.
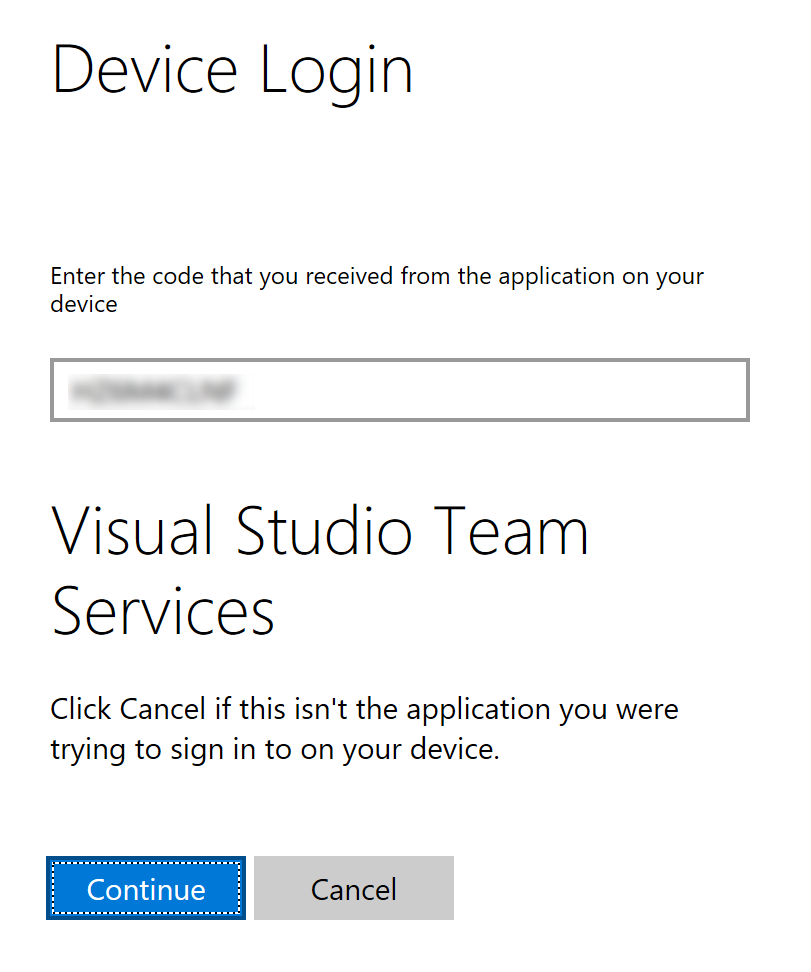 Once it is entered, the Team Services extension will finish signing in, and you should be right to go!
Manual Token generation
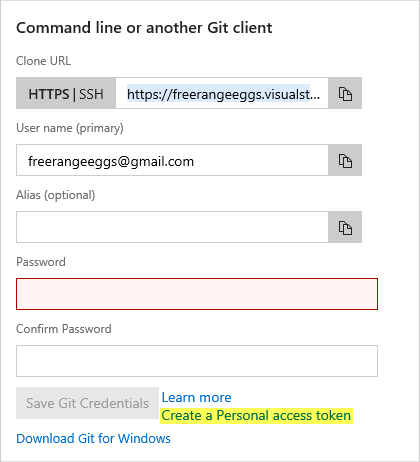
Back in VSTS, navigate back to Code > Files and click on that Clone button. Click on that blue Generate Git credentials button and then Create a Personal access token.
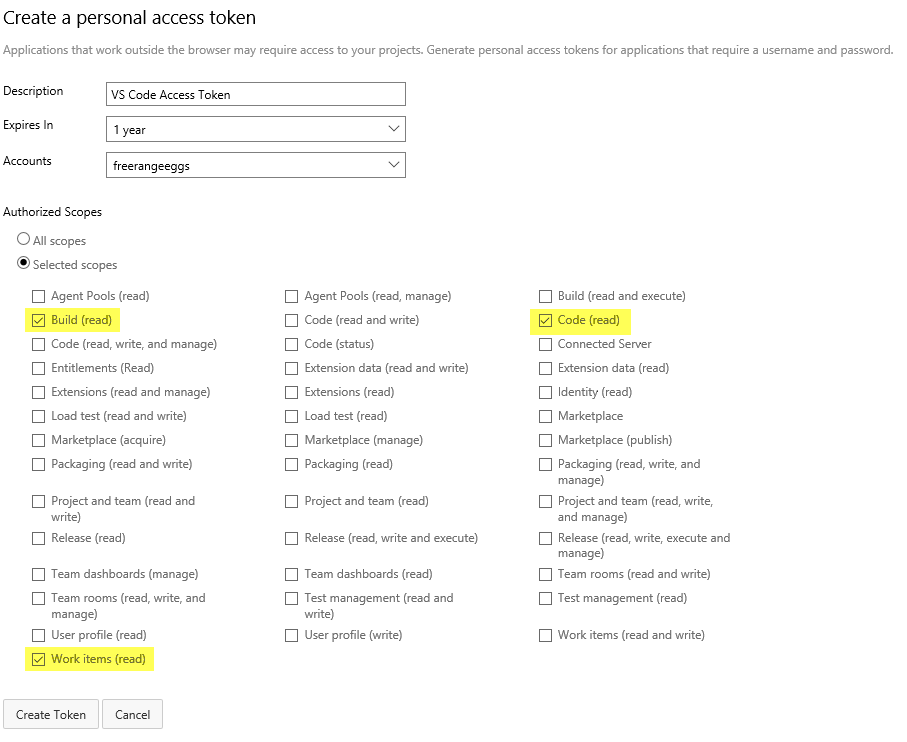
Whilst making the token, you must have the Build (read), Code (read), and Work items (read) scopes selected. Generate the token and you will be presented with the token value. It is important you copy this token for the next step as you only have one chance of getting it.
Head back to VS Code, and bring up the Command Palette (Ctrl-Shift-P for the Windows folk), then type Team Signin.

You will be asked what method you want to sign in with. Because you want to go the manual route, select the current experience.

You will be prompted to enter your access token, do so. This should be all you need to connect VS Code to VSTS. At the bottom of VS Code, you should see some cool info about your project.
Step 4: Profit
By now you should see this at the bottom of VSCode, that means your sign in was successful.  Clicking on the first part allows you to switch between branches, and refresh any branch, which I think is pretty freaking awesome. You can also see any pull requests, work items, and other stuff.
Where to from here
The VSTS extension for VS Code has plenty more options to it, and I recommend you have a look at the documentation.